This recipe is borrowed directly from the fabulous Smitten Kitchen. If you aren’t a regular reader of Deb’s blog, you should be! Her recipes, both original and adapted from others, are inventive and thoughtfully-tested. She has just the right combination of laissez-faire about non-essentials, with a dose of perfectionism about making sure a recipe will actually turn out.
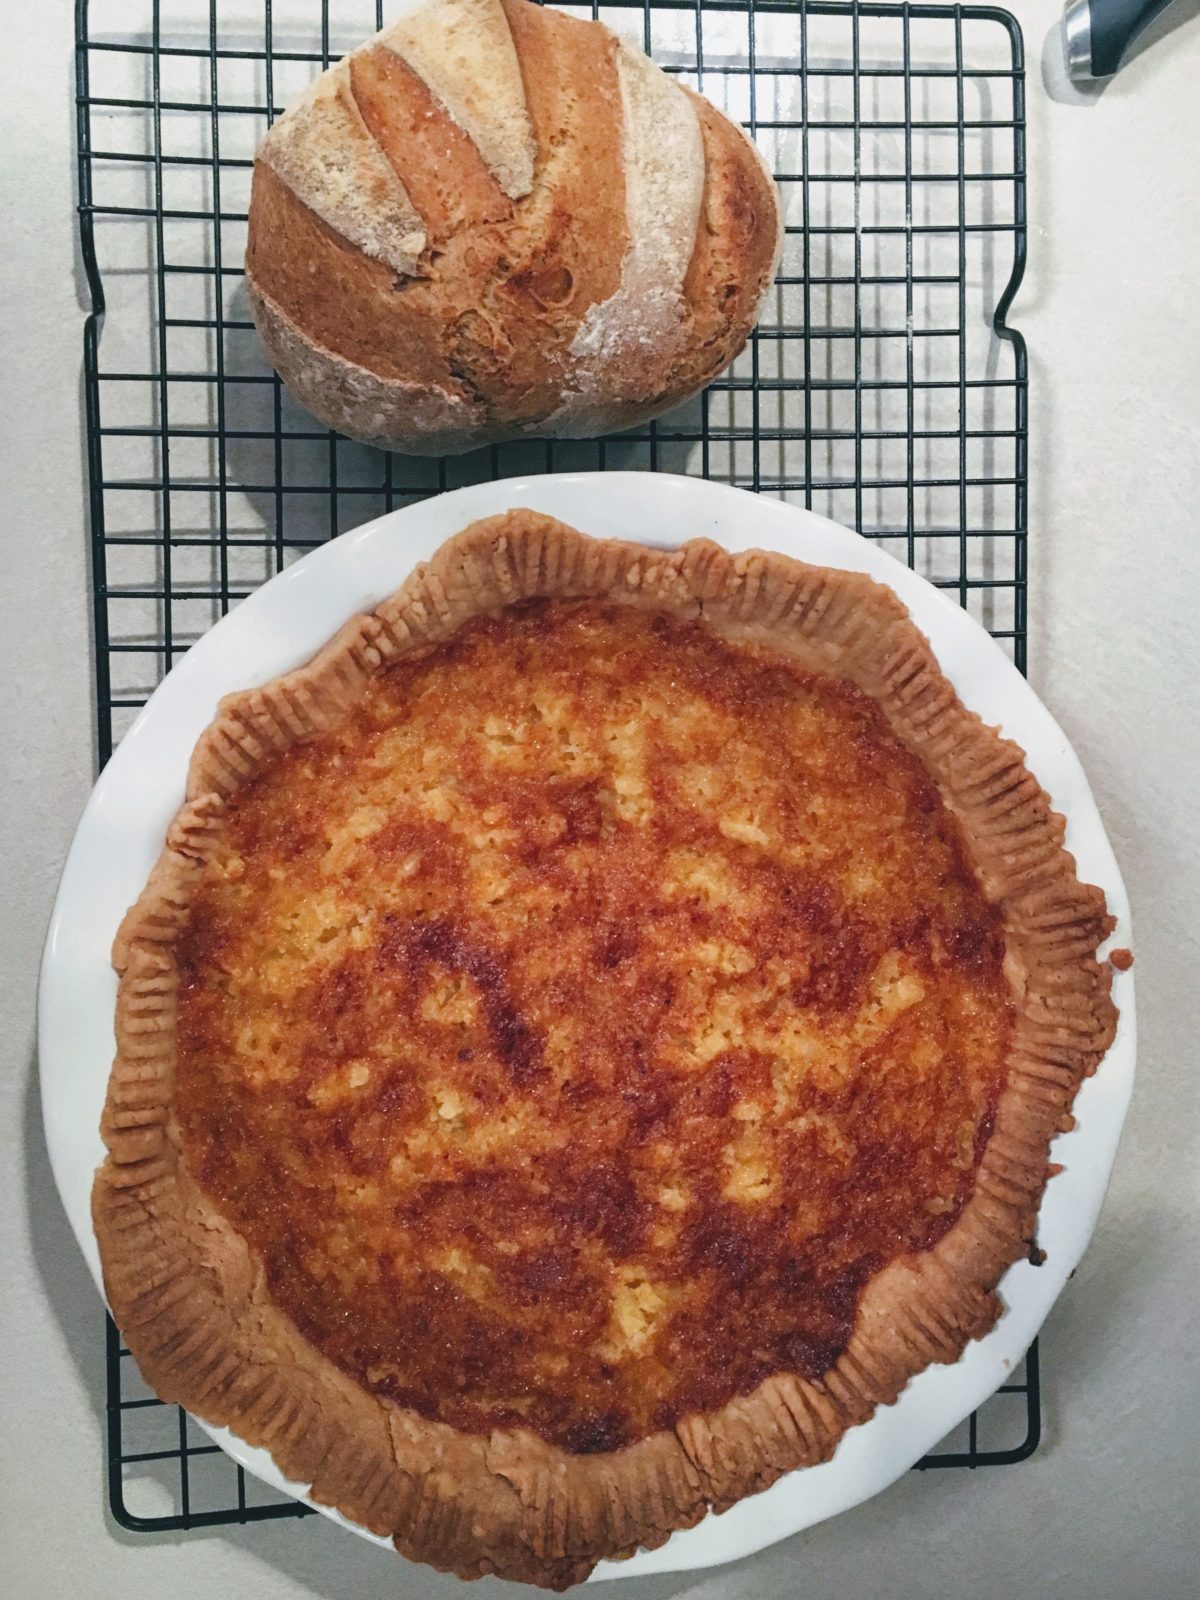
I love how simple this recipe is–one whole lemon (peel and all), whole eggs, sugar, and butter are the 4 main ingredients. Nothing to juice or zest! My only significant edit was a splash of Grand Marnier liqueur to the lemon filling. After all, what isn’t glorified by the touch of Grand Marnier?
- 1 lemon
- 1 1/2 cups sugar
- 1 stick (8 Tbs) unsalted butter, cut into large pieces
- 4 large eggs
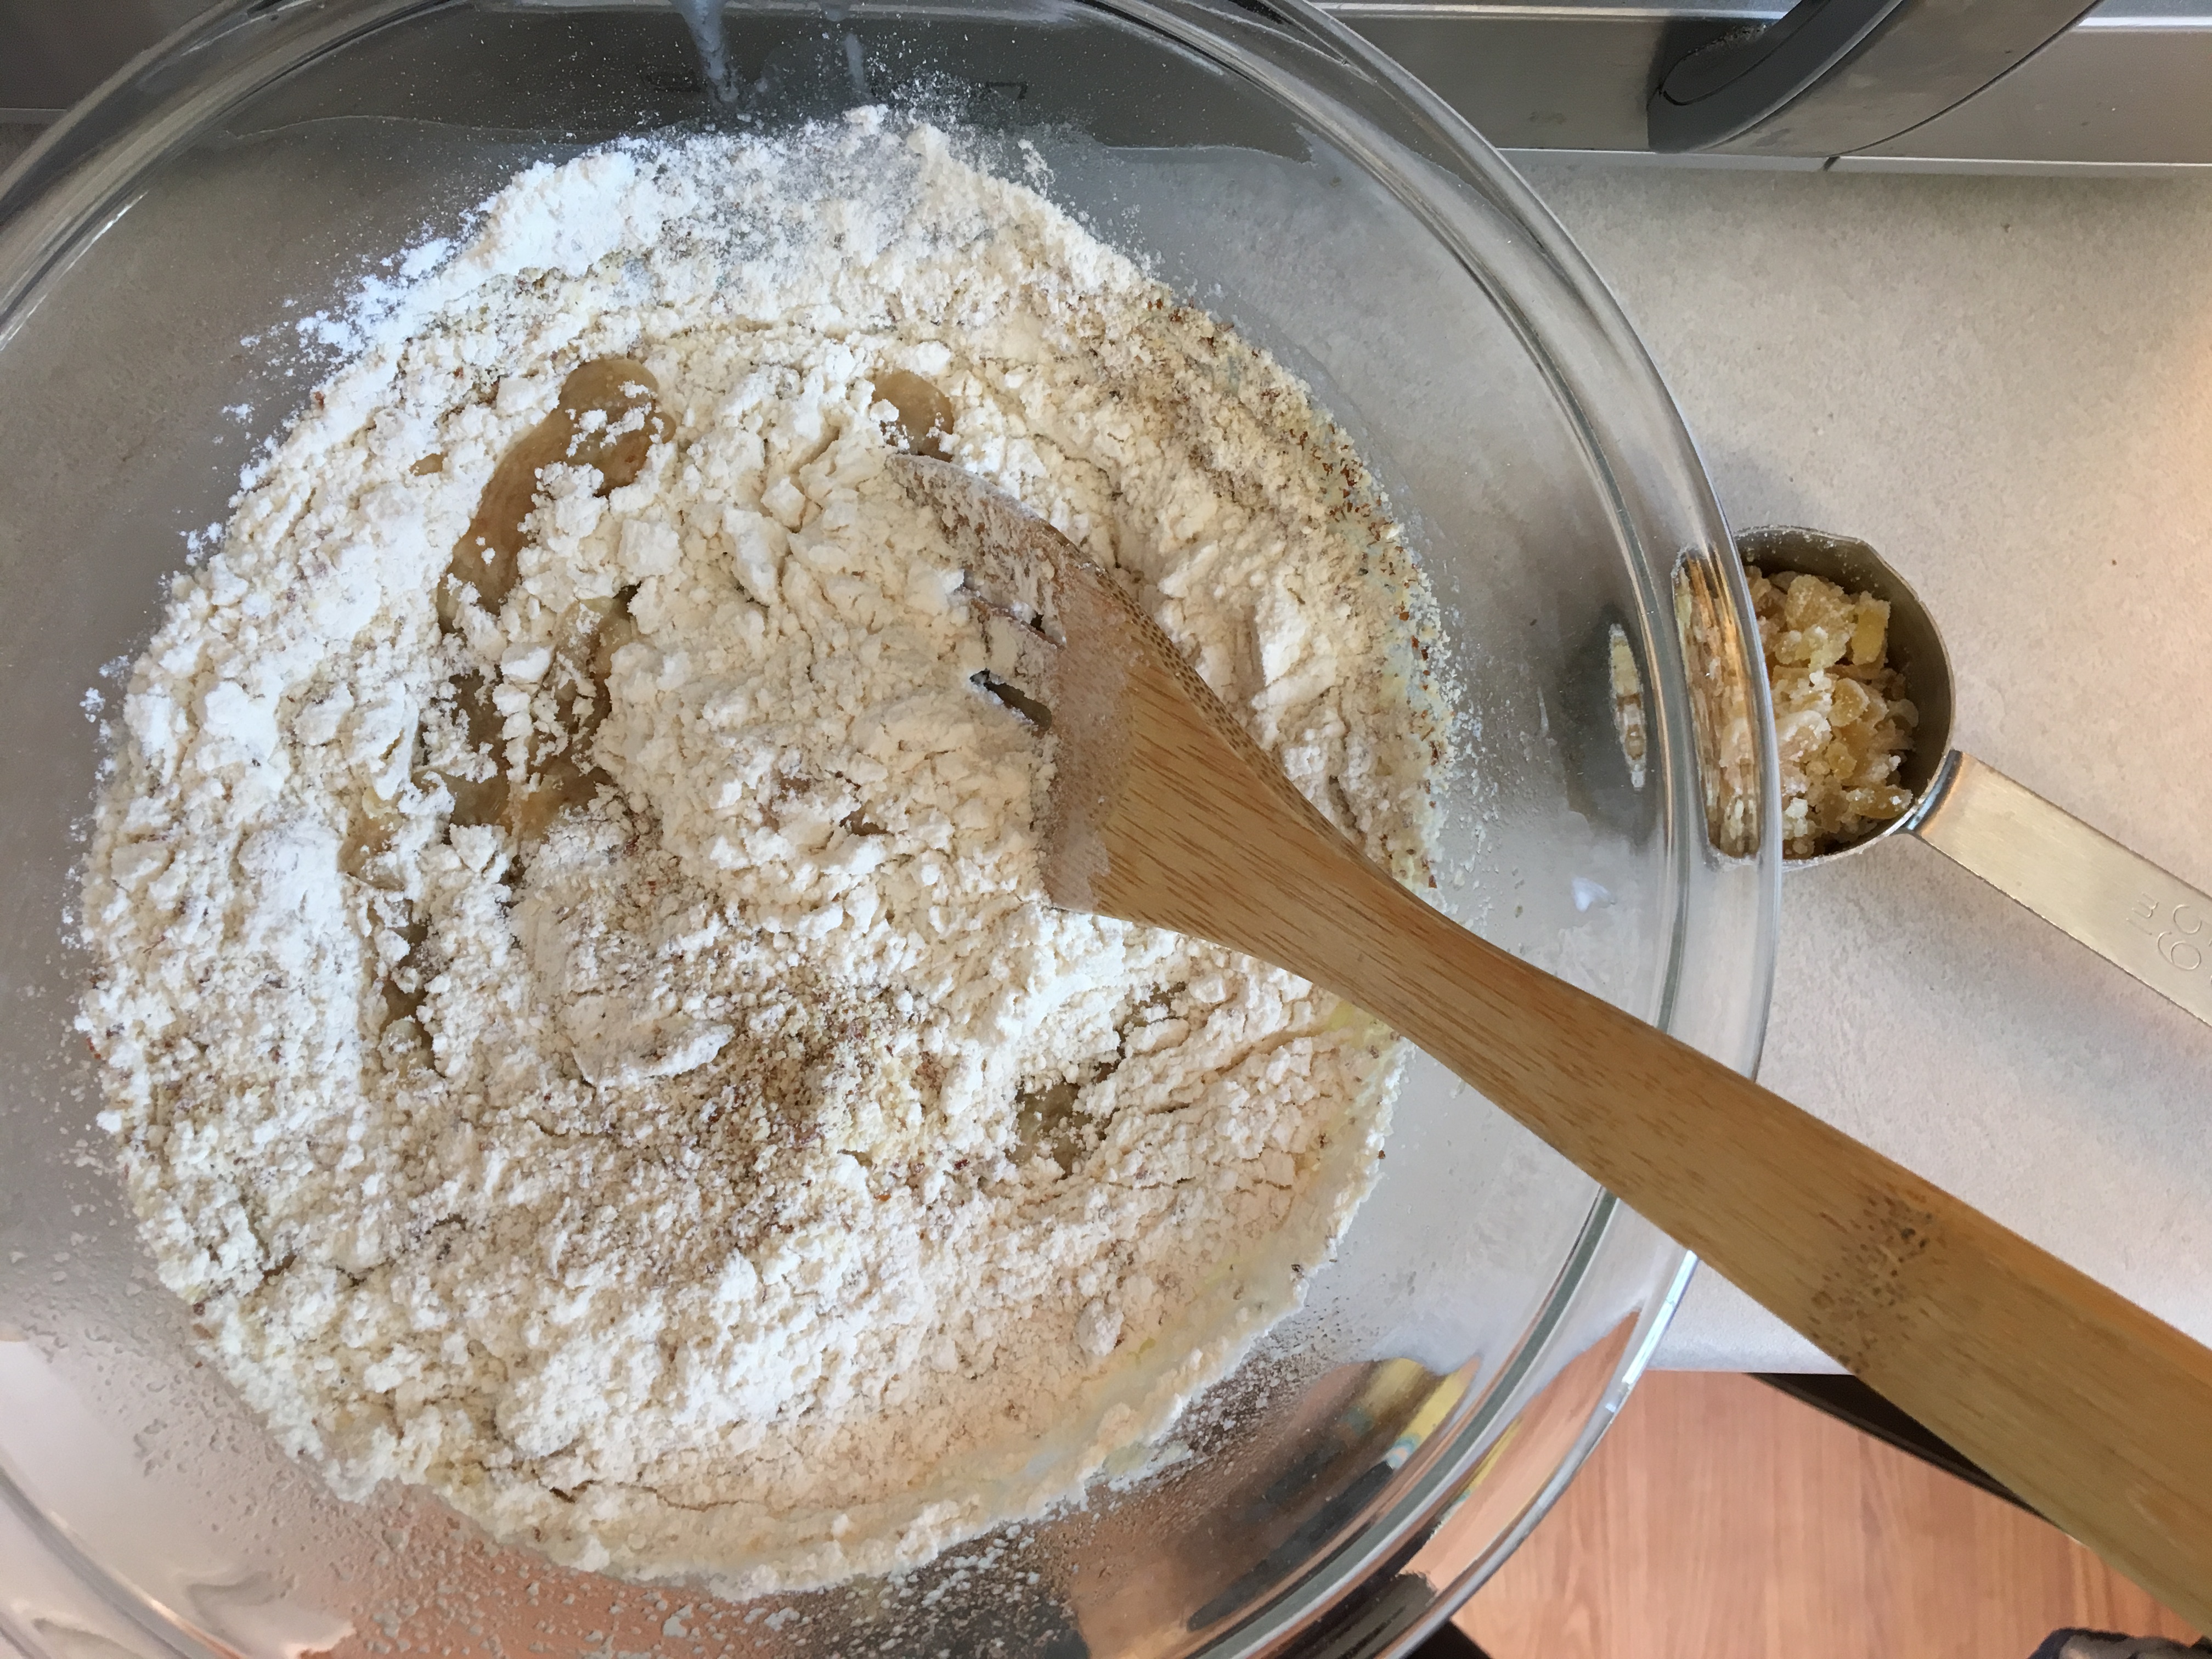
- 2 Tbs cornstarch
- 1/4 tsp salt (I used about half that since I used salted butter)
- Splash of Grand Marnier to taste
- 9 inch pie or tart shell, parbaked.
Preheat oven to 350. Make sure you didn’t forget to parbake the pie shell like I did once. Place pie shell on baking tray lined with foil in case of spills.
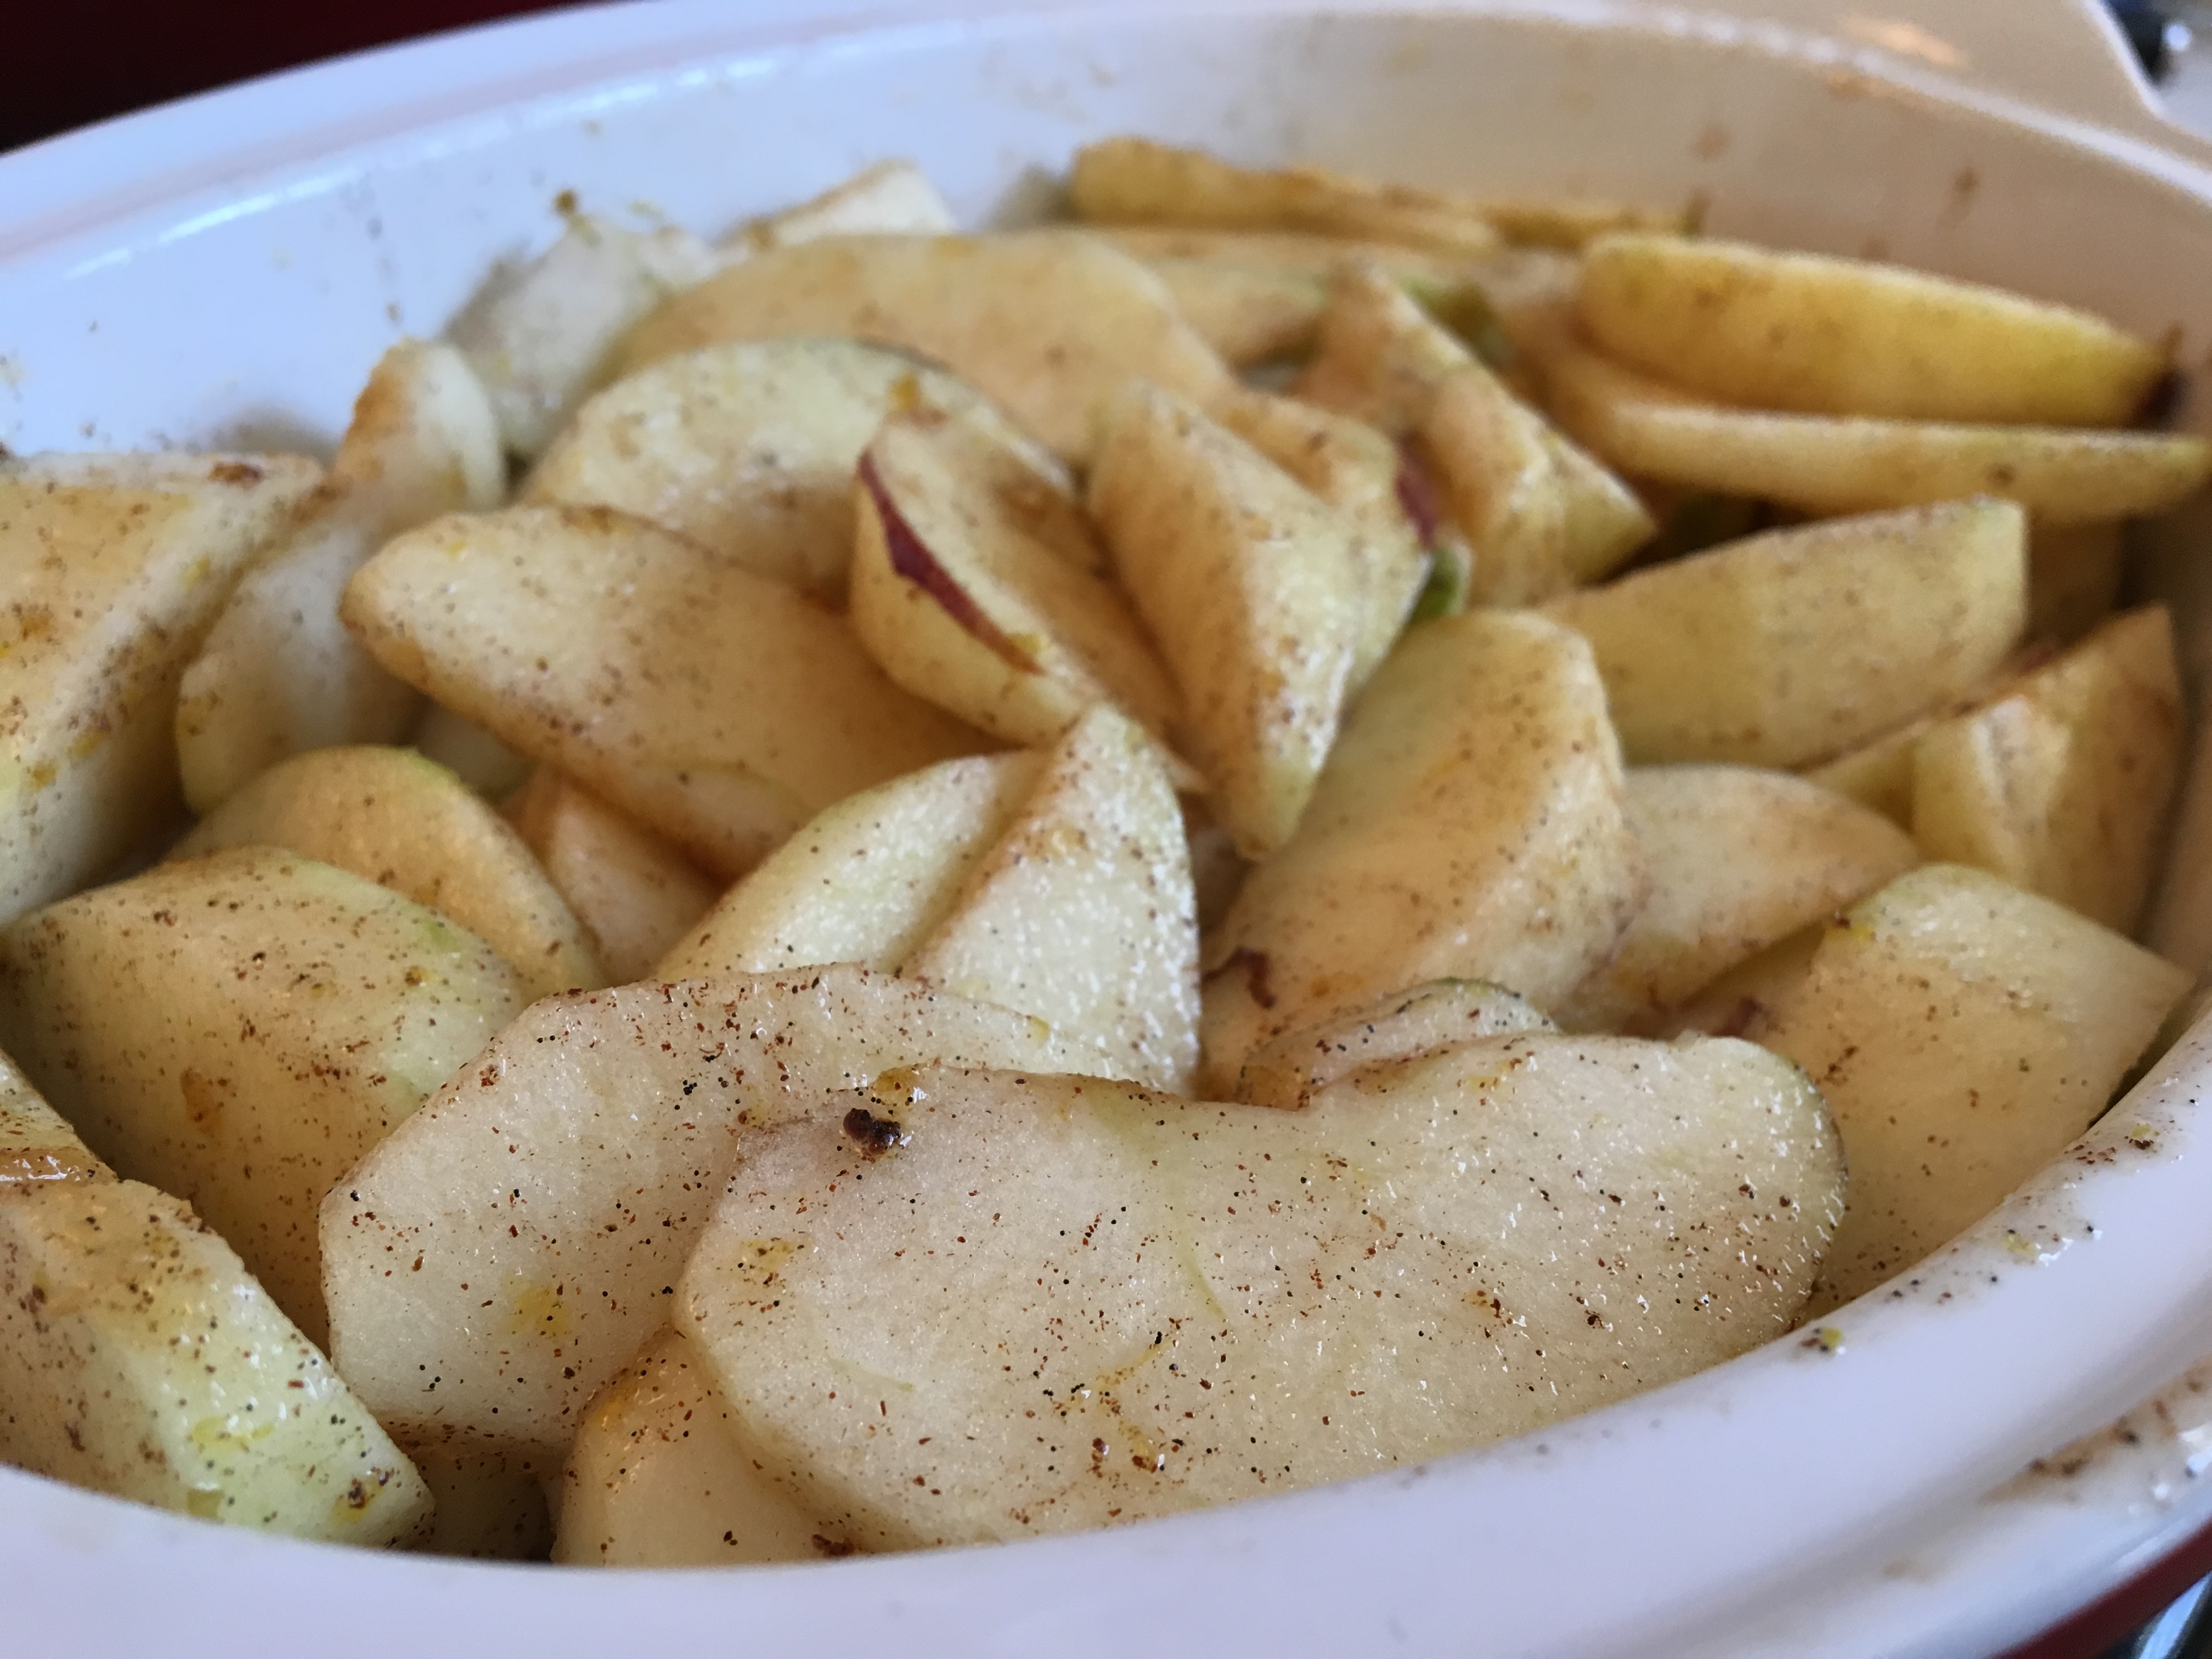
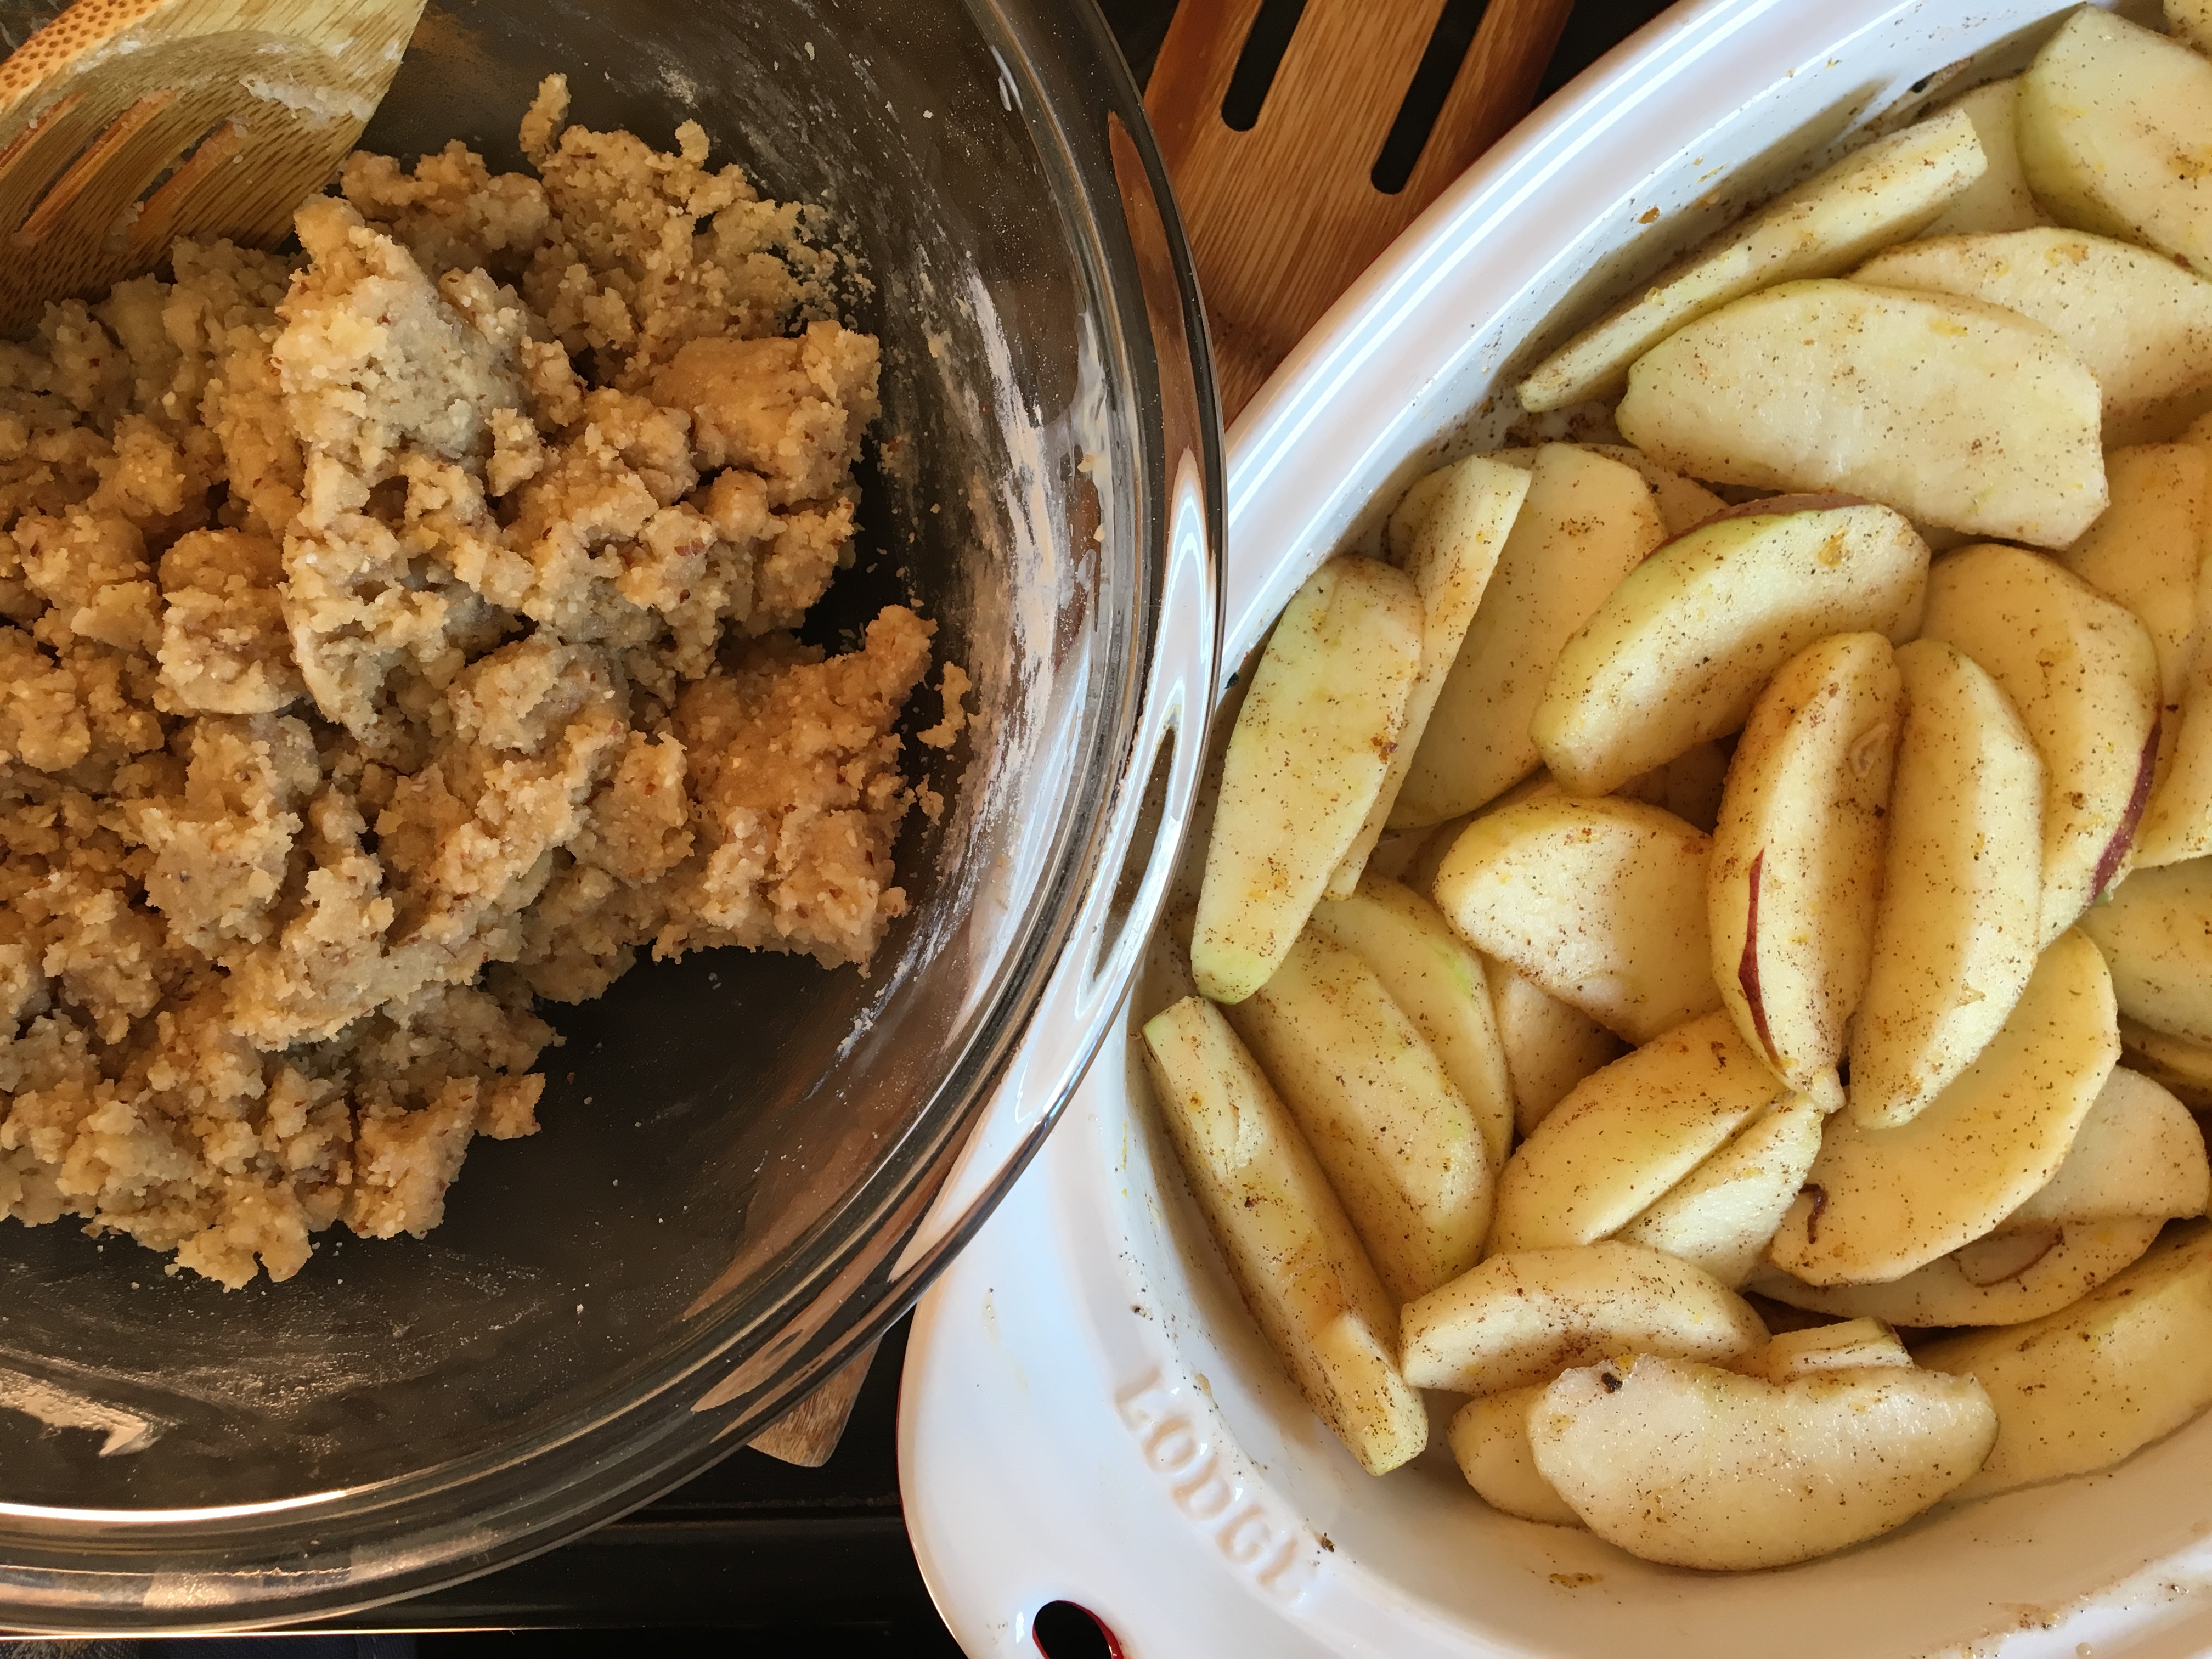
Remove ends of lemon, cut lemon into thin rounds and remove any seeds. *If* the peel looks thicker than 1/4 inch, peel half the lemon. Otherwise, use with whole peel. Toss lemon rounds, sugar, and butter into food processor and blend until smooth. Unless you really want substantial lemon rind chunks in your teeth, blend until very smooth.
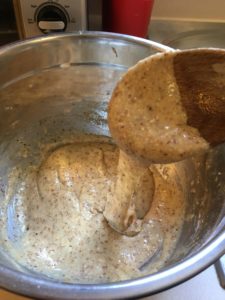
Add eggs, cornstarch, salt, and Grand Marnier. Blend till smooth.
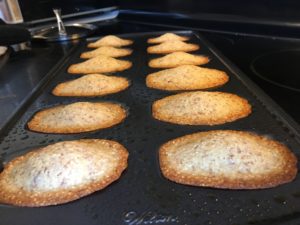
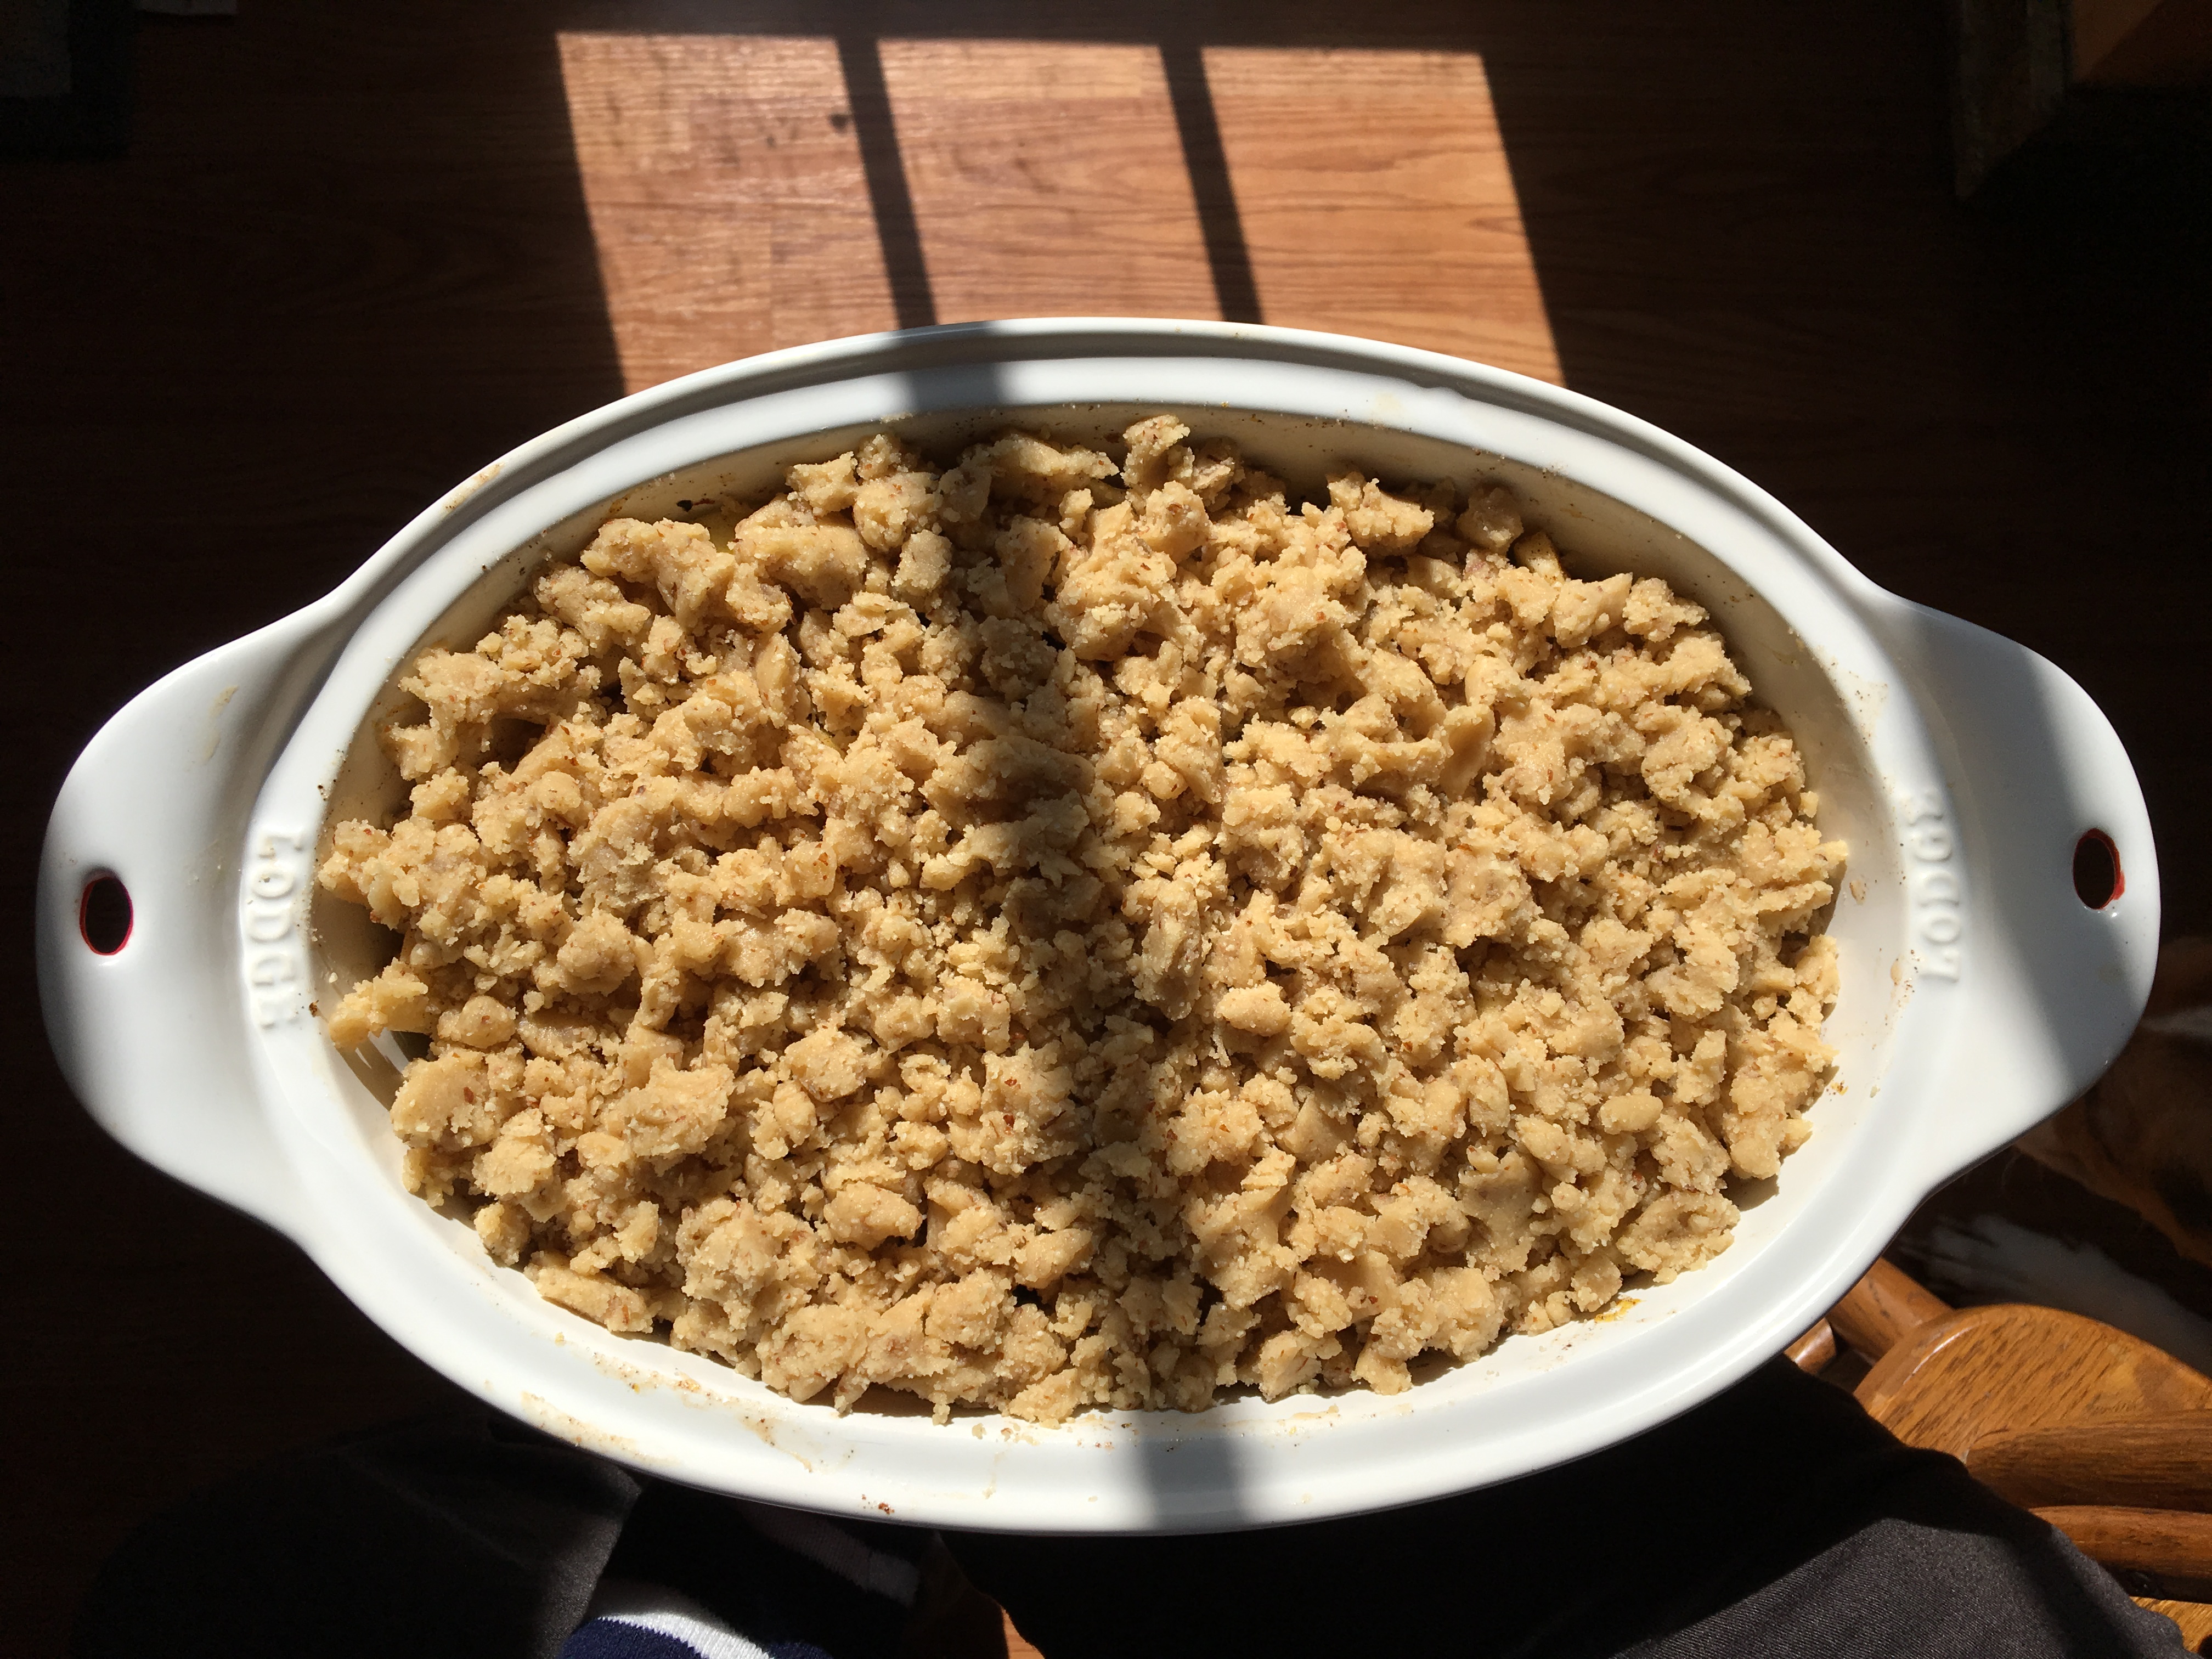
Pour filling into pie shell and bake for 35-40 minutes in the center of the oven.
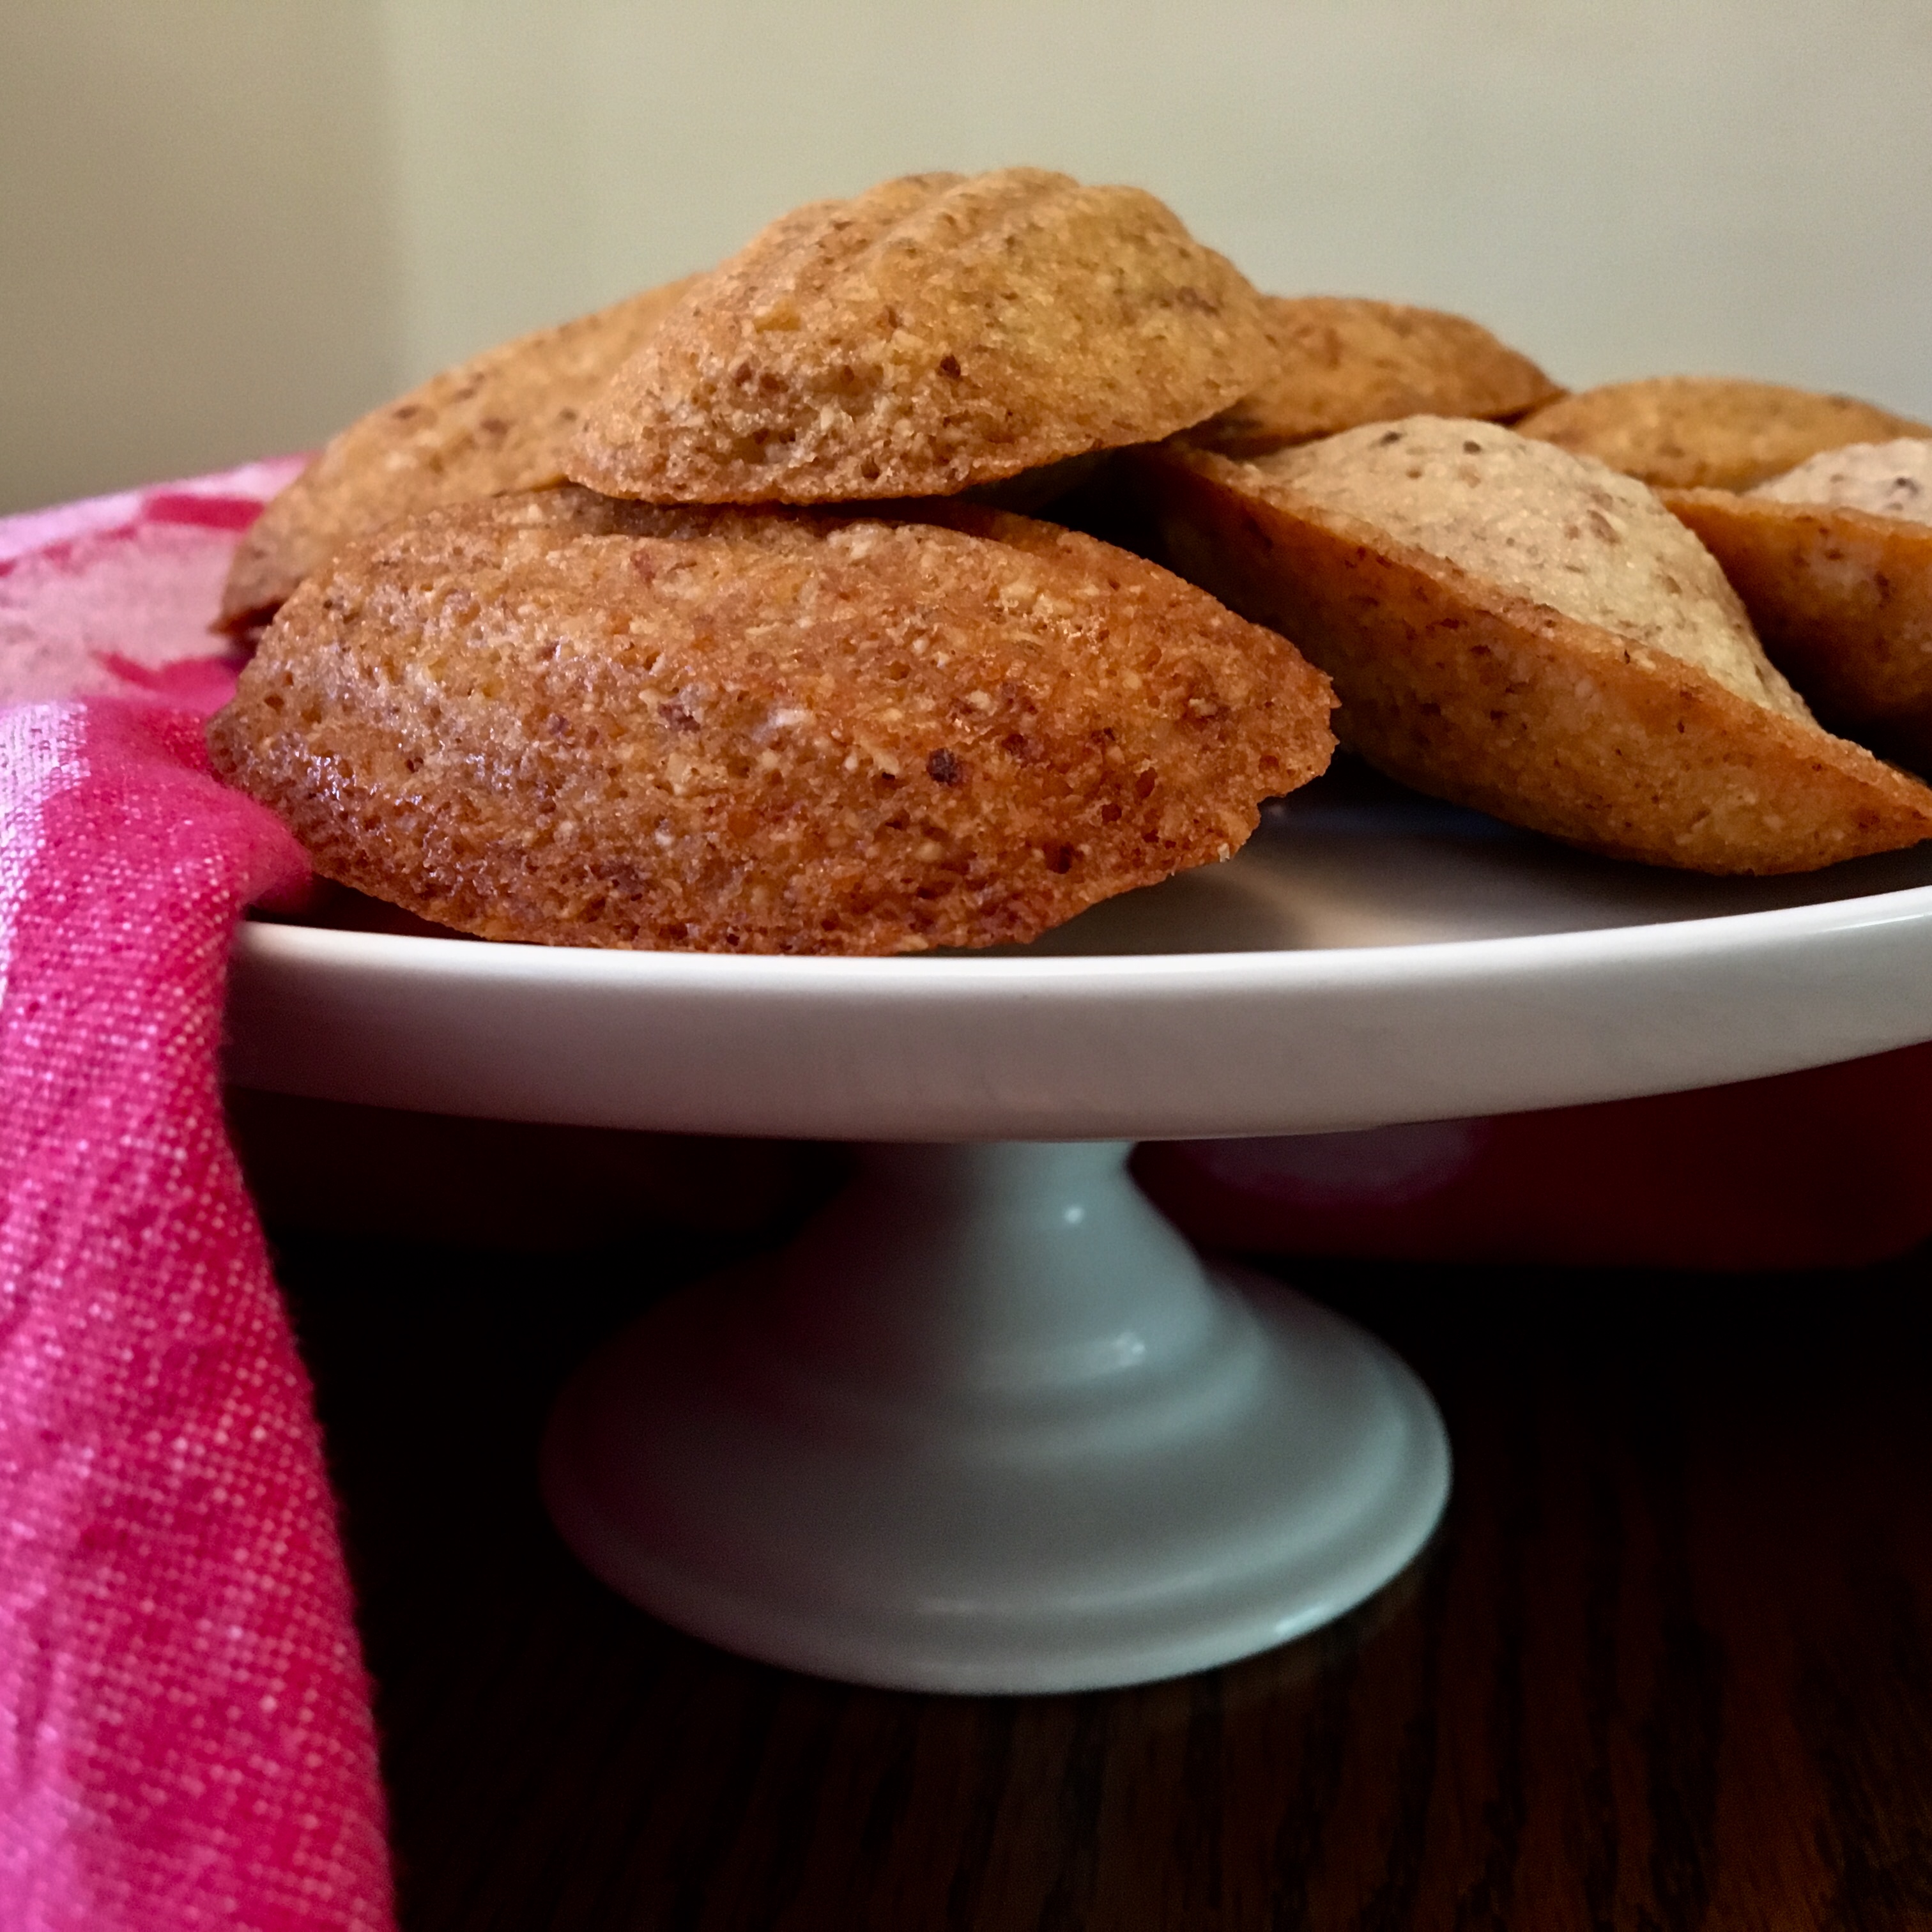
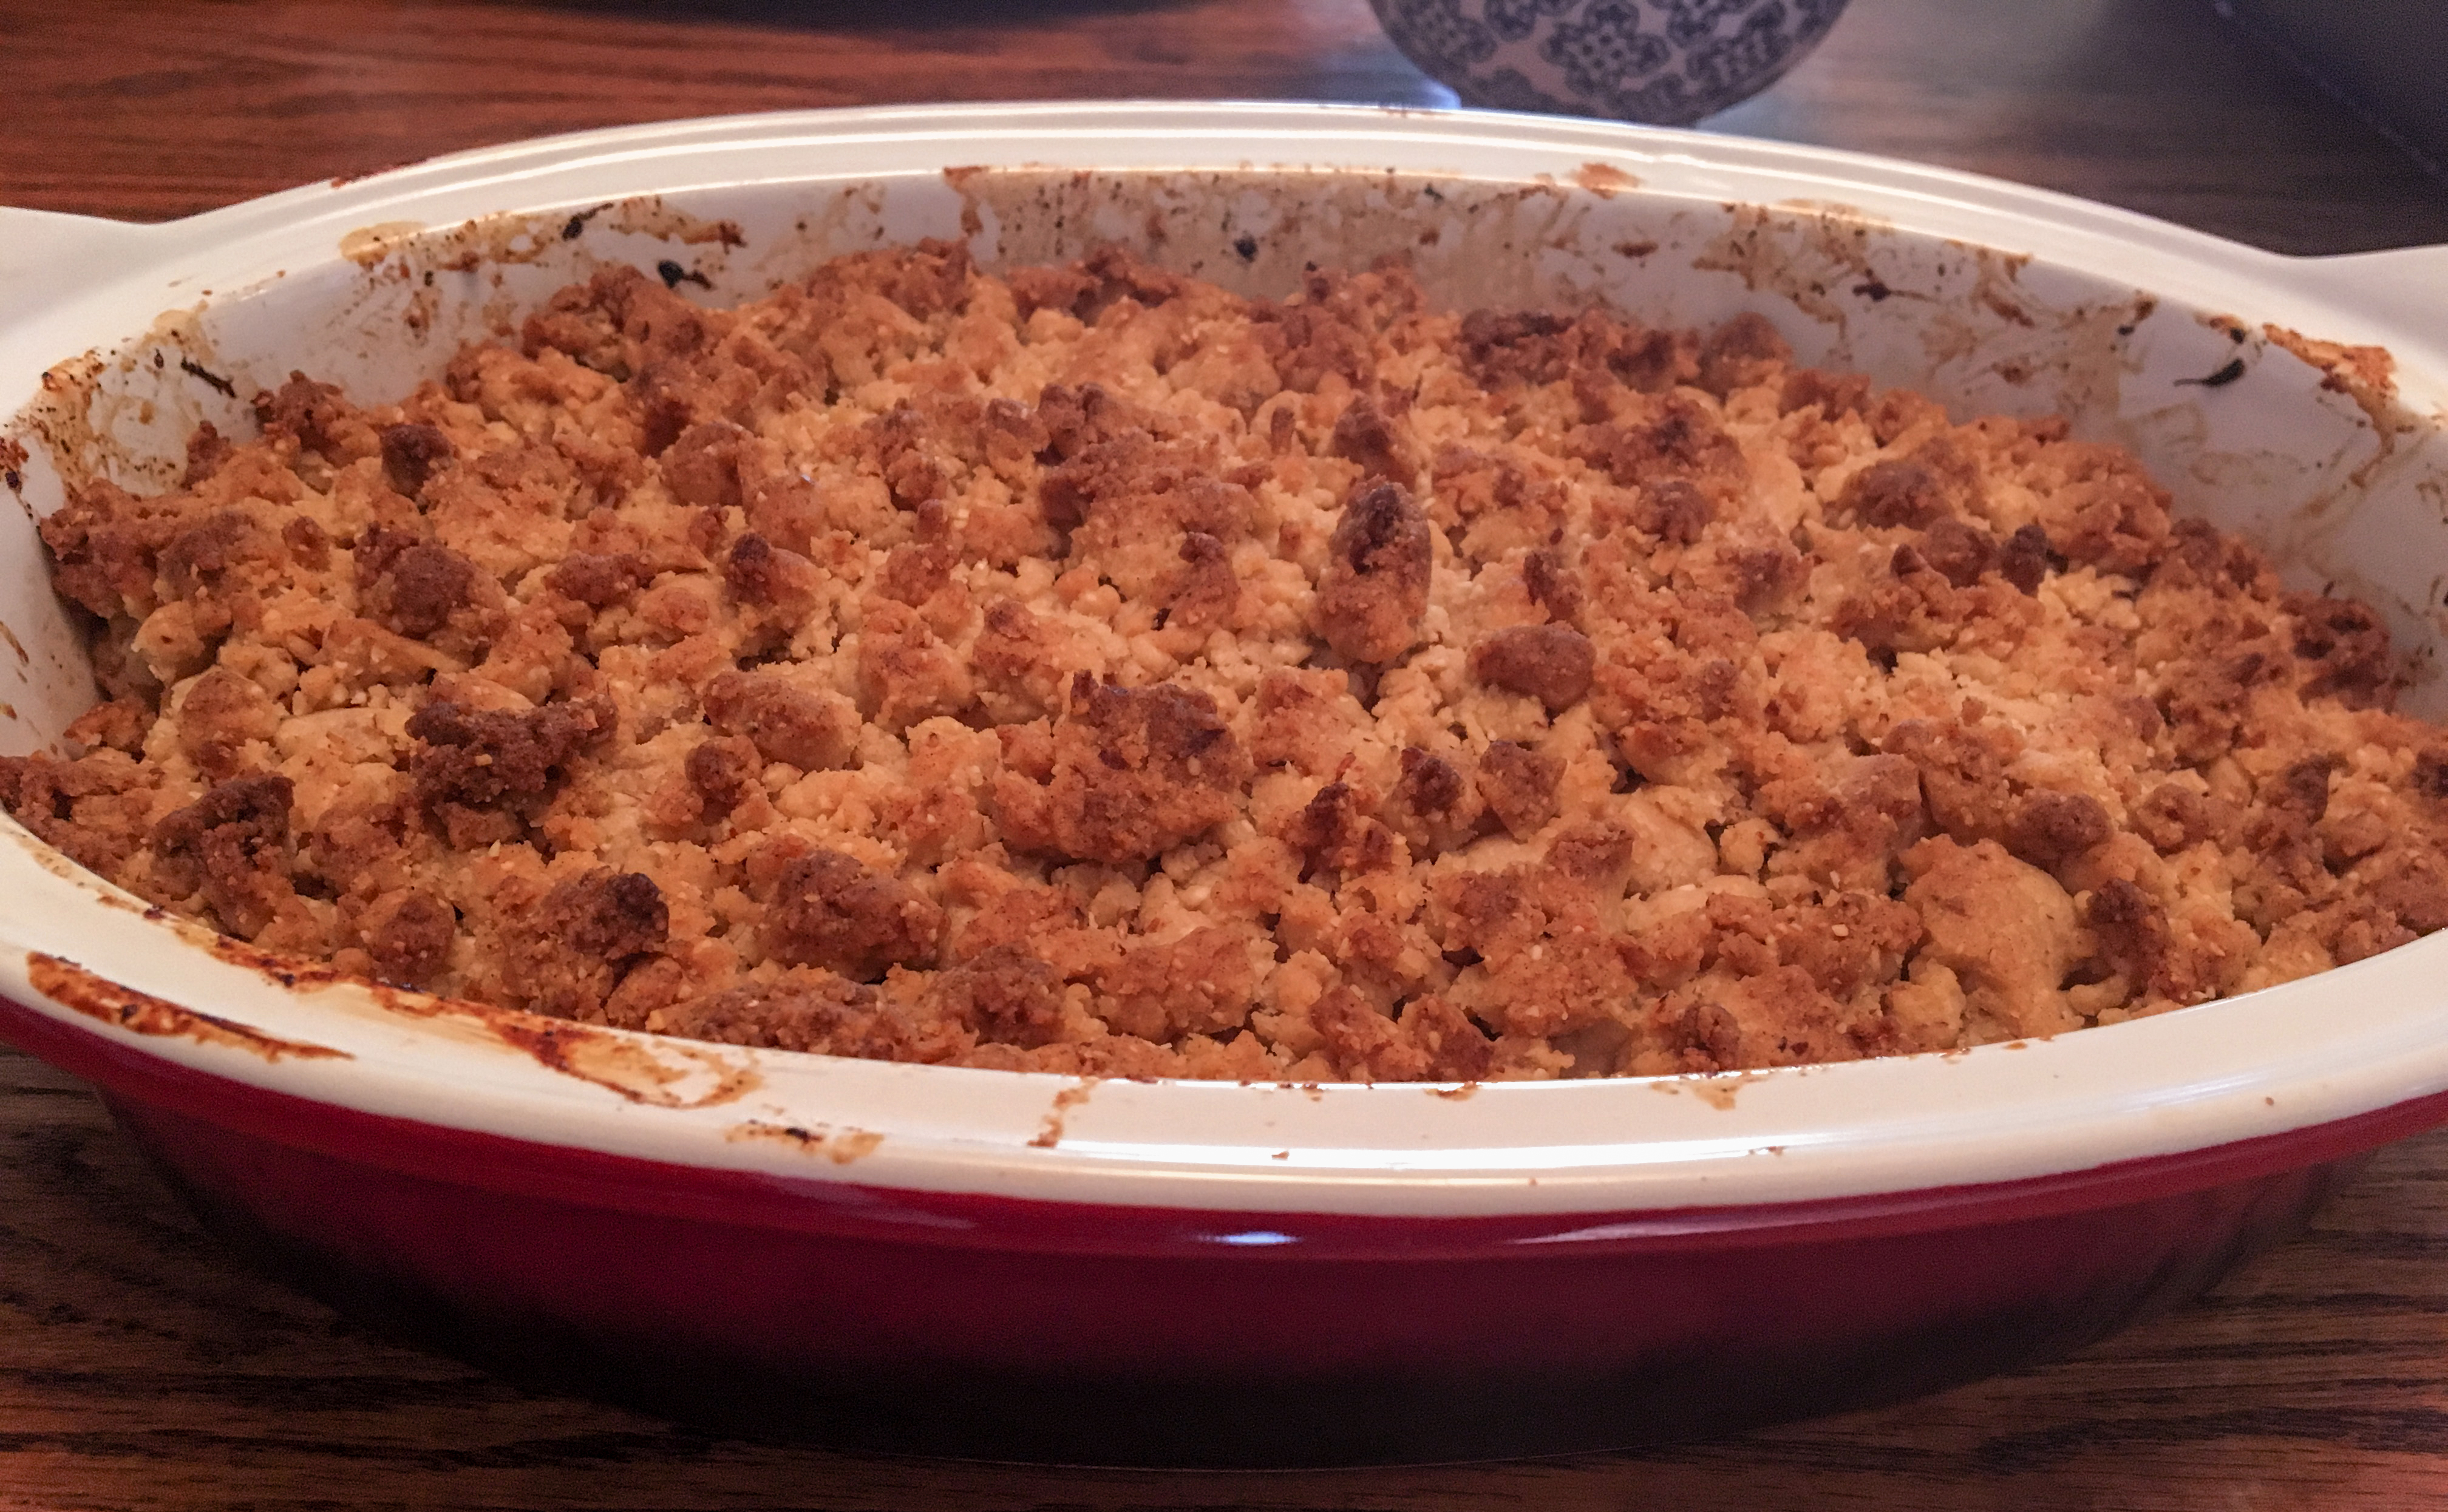
You may need to cover the tart with foil during some of the baking to prevent excessive browning. This was the only part of the recipe I’m still working out the details on, but watch it, cover if browning too fast for your liking, and jiggle to check if it’s set. When it no longer does a shimmy-shake in the center, it’s done! Warning: this tart is addictive.
 What ho! After a quiet spring filled with lots of new things–like figuring out how to tend a fussy newborn while stirring a pot on the burner, how to stay sane during 2 am feedings, and wondering how anything so tiny can have so much personality–I’m back, +1 and plus a recipe. Mundum, please meet Francis Henry Athanasius Abraham. He’s all smiles 90% of the time, and only fussy for the important things in life, like demanding more milk, pretty please and thank you. In fact, one could quite accurately say that he does indeed cry over spilt milk.